|
|
Post by 3DprintedLife on Dec 1, 2015 22:05:41 GMT
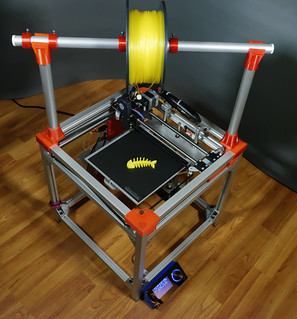
Hey everyone! So, with my printer being open sourced, I always am curious as to how many people go out and build the project on their own! Occasionally people contact me and share pictures of their build which is always exciting to see, but I just figured I would use the forums to ask the community directly! So, if you have built an Eclips3D (whether it be entirely on your own or through me), feel free to post a picture of your build below and let me know what you think of it! I'm always open to feedback and suggestions! To get the ball rolling, here is the better looking of my two Eclips3D printers   |
|
|
|
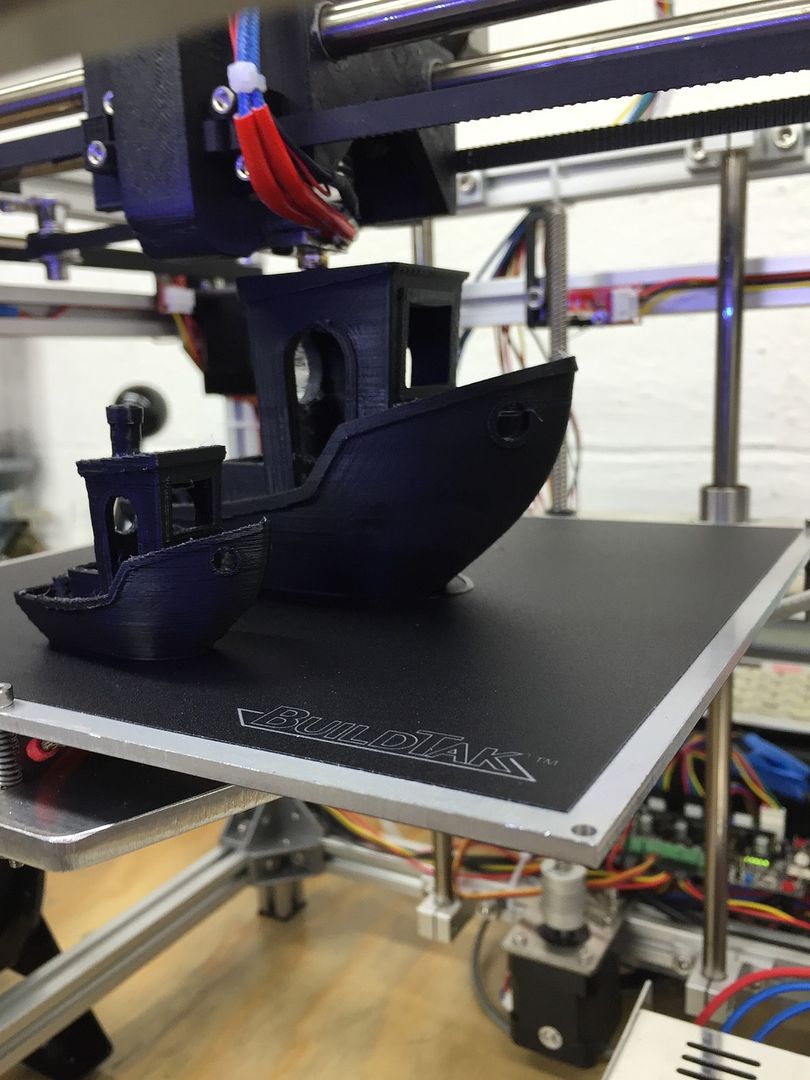
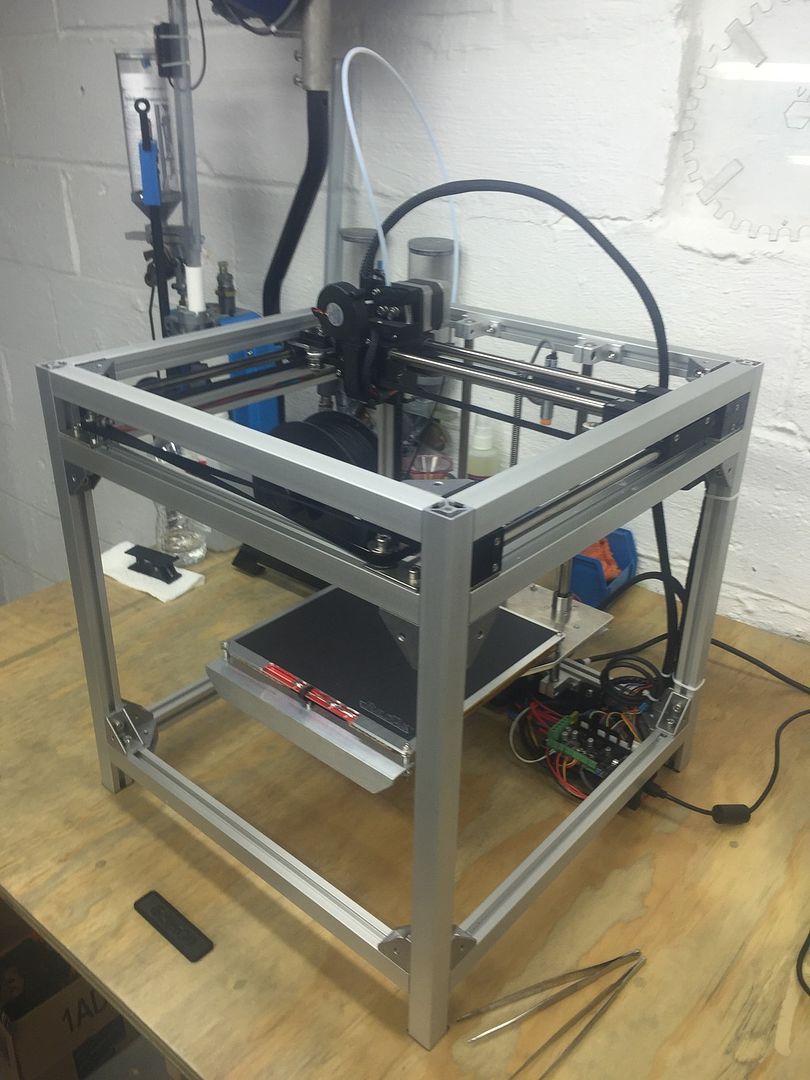
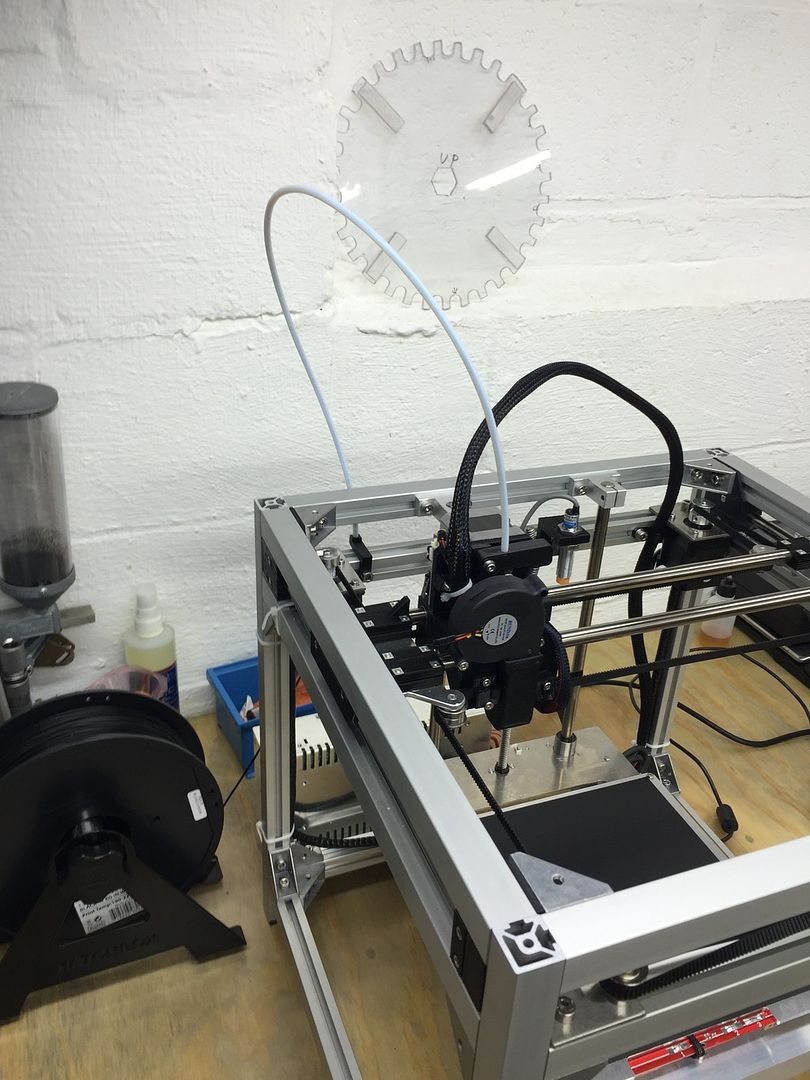
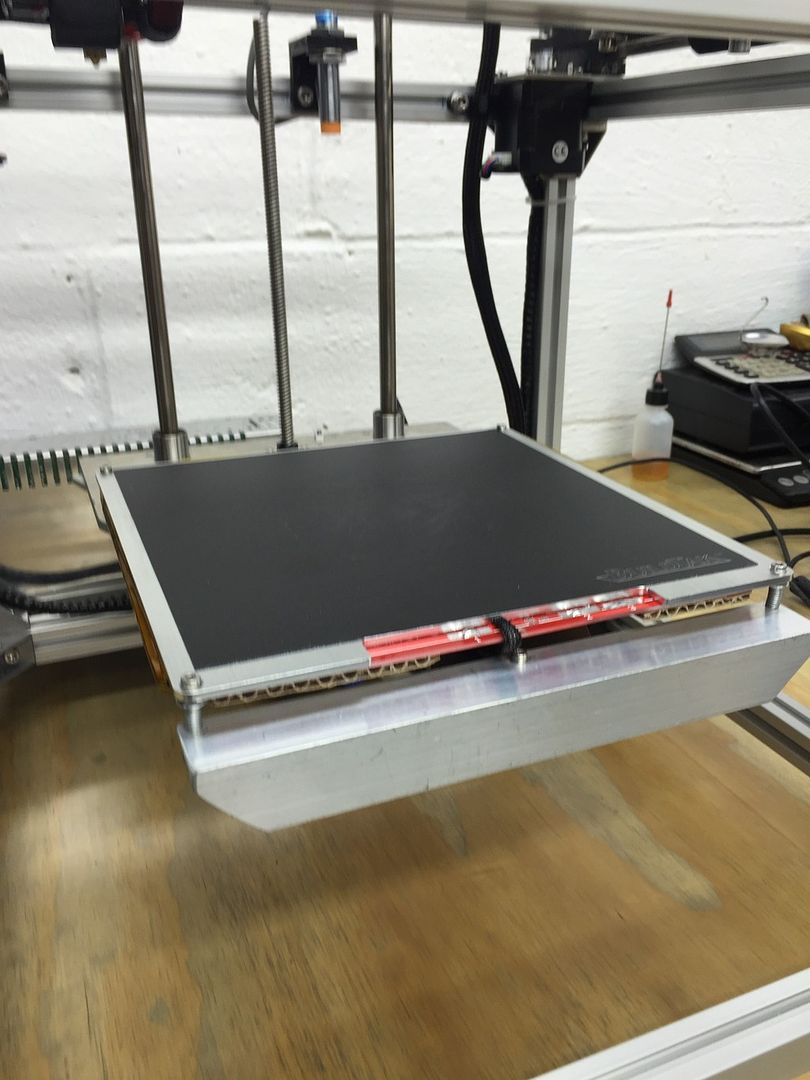
Post by jhopiv on Dec 2, 2015 21:33:18 GMT
|
|
|
|
Post by 3DprintedLife on Dec 3, 2015 3:15:02 GMT
Looks awesome! Well done!! You should consider printing the new v1.1 belt clamps and y rod clamps, they are both improved quite a bit for added rigidity! Also the x gantry is tweaked a bit to be stronger and support thin features a bit better, but if nothing on yours broke you shouldn't have to reprint that!
-Andrew
|
|
|
|
Post by jhopiv on Dec 3, 2015 14:23:50 GMT
Thank you. Yes my plan is to reprint the new parts but I'm not going to change them unless something brakes or I take it apart for other upgrades.
I love how the eclips3d is evolving. I also have a webcam hooked up to Skype on auto pickup so I can monitor my prints while I'm at work.
What do you think some of the next upgrades should be?
|
|
|
|
Post by 3DprintedLife on Dec 3, 2015 15:16:27 GMT
I myself want to get octoprint set up on one of those new $5 raspberry pi's, but the trouble is they are sold out everywhere and probably will be for the next year! An LCD is always a good upgrade but they are expensive, I think there are cheap chinese clones that will work that you can find on ebay or aliexpress but I'm not positive. Could also attempt dual extrusion but that would be hard because of how this is set up, or you can try bowden which is actually really easy, you basically just remove the extruder arm and relocate the stepper then pick yourself up some ptfe tubing then print and build a bowden extruder. The existing Eclips3D extruder can be used as only a hot end clamp very easily!
|
|
|
|
Post by macgyver03 on Jan 23, 2016 20:01:24 GMT
  Here is my Eclips3D with a custom PSU bracket. So far the only thing I have really had to change from the original plans was the X and Y endstops to versions which had a dimple on the lever. The ones in the BOM weren't quite long enough on the X to hit the pillar and the Y didn't activate 100% of the time. |
|
|
|
Post by theo1001 on Jan 24, 2016 6:00:55 GMT
|
|
|
|
Post by travistrue on Feb 10, 2016 1:13:20 GMT
An LCD is always a good upgrade but they are expensive, I think there are cheap chinese clones that will work that you can find on ebay or aliexpress but I'm not positive. Here's a $45 RepRap kit I've bought from Amazon in the past: www.amazon.com/gp/product/B0111ZSS2OI think it might a Chinese kit, but you get quite a bit. Most of the stuff included in the kit won't help you with the Ecilps3D since the Azteeg takes care of it (Arduino Mega 2560, RAMPS, stepper drivers, etc). The screen is really neat though. Once I have a better grasp on how to program and use microcontrollers (I have very limited knowledge of how circuits and electronics work), I want to write my own display GUI in C++. I'd probably want to use a Pi 2 with an RTOS for that though. I really like theo1001's setup! The PSU and Azteeg are all nicely bundled onto the printer. It looks really clean. My only hope is that I can get mine put together. This is is the first 3D printer I've ever built, and I only have little knowledge of how microcontrollers or electronics work right now. |
|
|
|
Post by thecrimsonchinh on Feb 15, 2016 4:05:15 GMT
Not as cleaned up as your guys' printers, but here's mine. imgur.com/a/lN12rWith a little bit of my Makerfarm in the back of the last one. |
|
|
|
Post by jjlink on Apr 17, 2016 16:33:00 GMT
|
|
|
|
Post by drveni on Jun 24, 2016 19:21:16 GMT
jjlink, what is "brain" of Yours printer. Nice work, and nice screen on the bottom.
|
|
|
|
Post by rock75 on Jun 26, 2016 15:08:13 GMT
Looking good jjlink looks very clean! |
|
|
|
Post by animoose on Jul 9, 2016 2:25:08 GMT
|
|
|
|
Post by rock75 on Jul 9, 2016 4:01:42 GMT
Congratulations on the successful build! Looks awesome! Very clean and tidy  You have inspired me to clean up my wiring LOL Cheers ~ Rock |
|
carlos
Junior Member

Posts: 94
|
Post by carlos on Jul 21, 2016 17:37:12 GMT
That looks pretty great. Nice job!
|
|